 | FPGA development |

|
TMC-20 multicore board
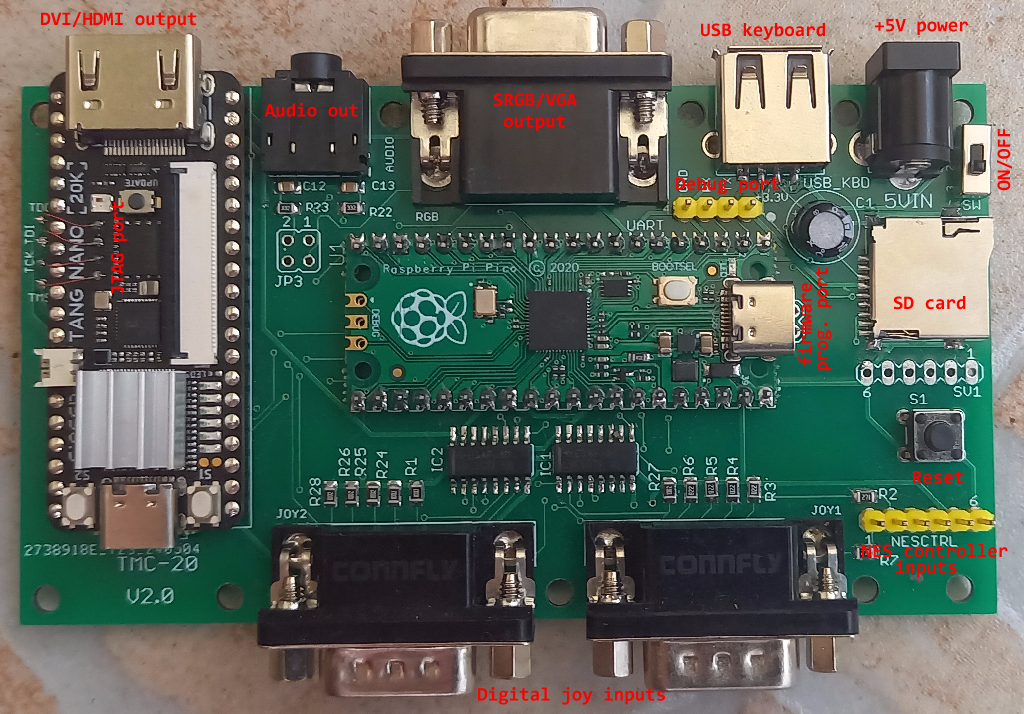
- An SD card formatted to FAT32, containing the gwc2a system directory detailed below, with the core files in it.
- HDMI cable or RGB-Scart cable for RGB output (all cores support RGB output)
- Standard USB keyboard
- +5V/1A DC regulated power supply*
- C64/Atari joystick or NES controller** (famiclone controller)
** A unique cable is required to connect NES controllers, see below.
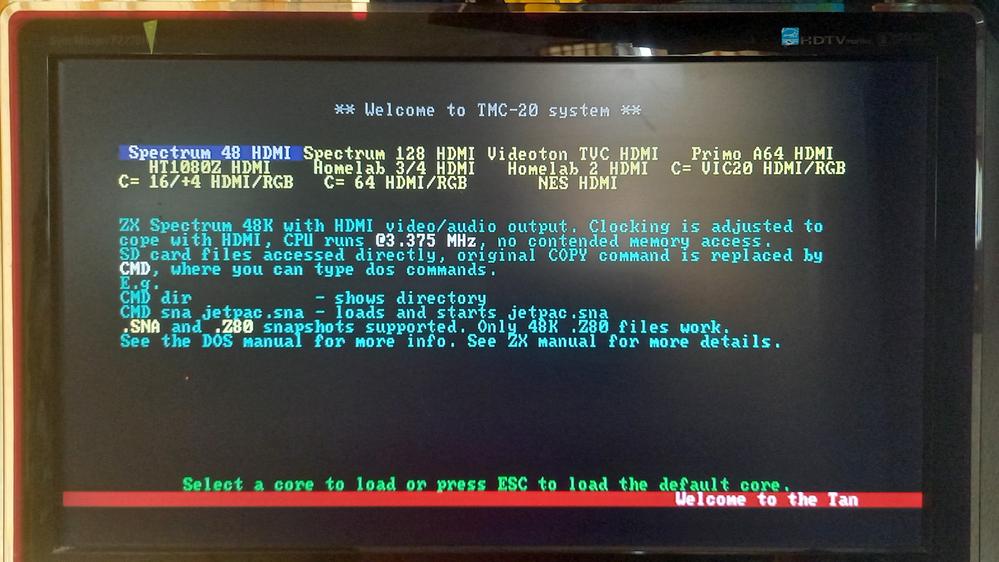
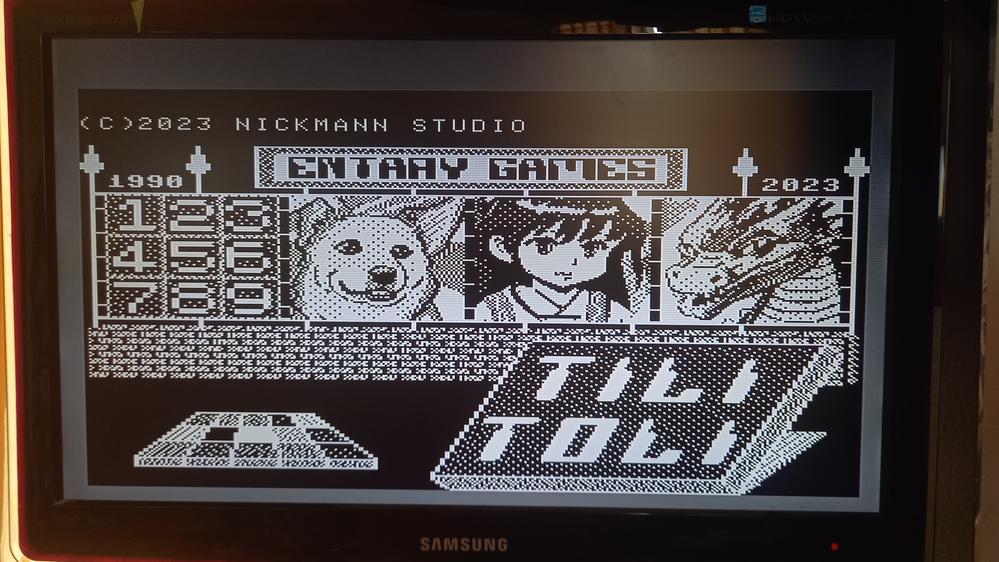
If the conditions are met, the user will be greeted with the main menu screen below upon startup.
| System | Core name (for the gwc command) |
| ZX Spectrum 48 | zx48 |
| ZX Spectrum 128 | zx128 |
| Videoton TVC 64k | tvc |
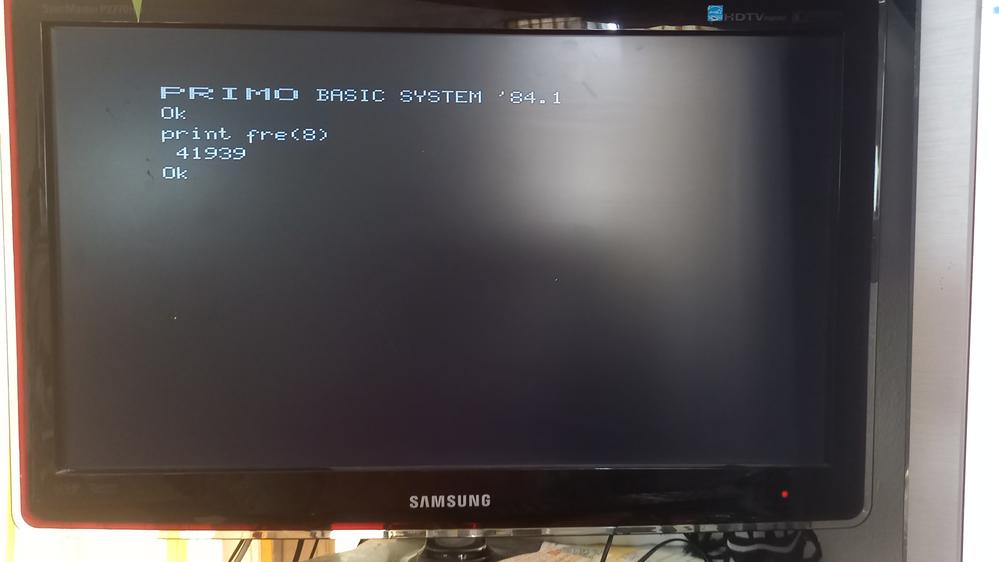
| Primo A64 | first |
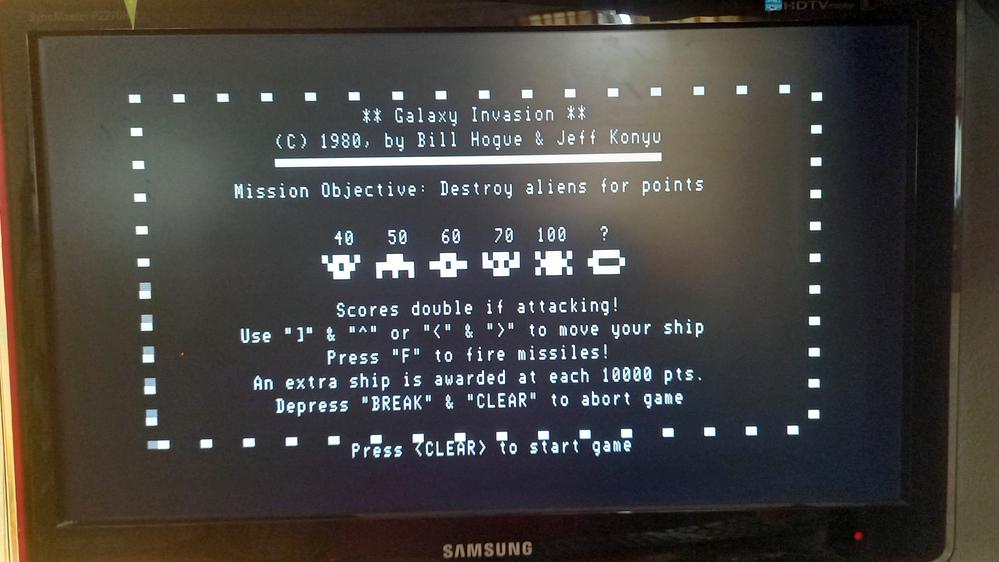
| HT1080Z 64k | ht |
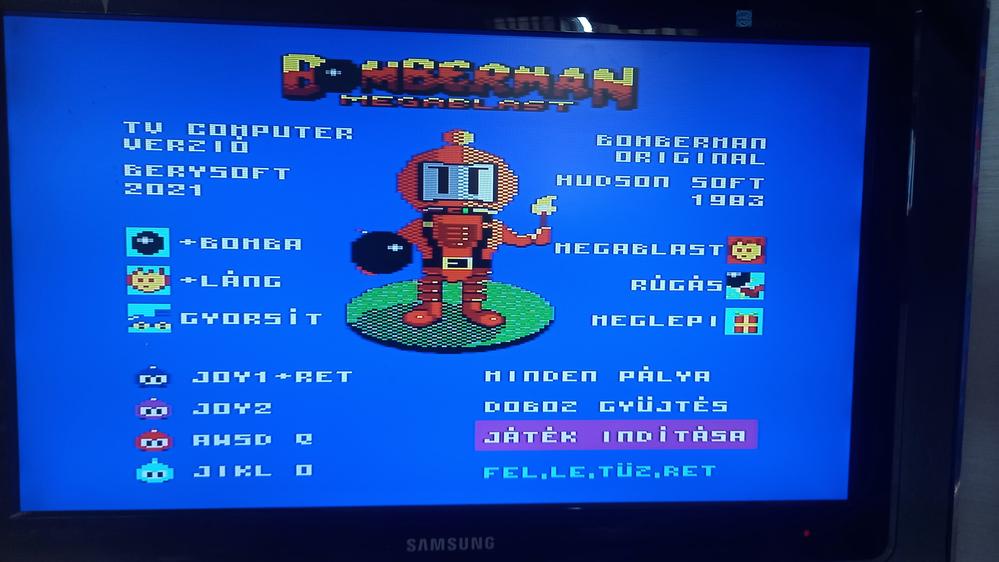
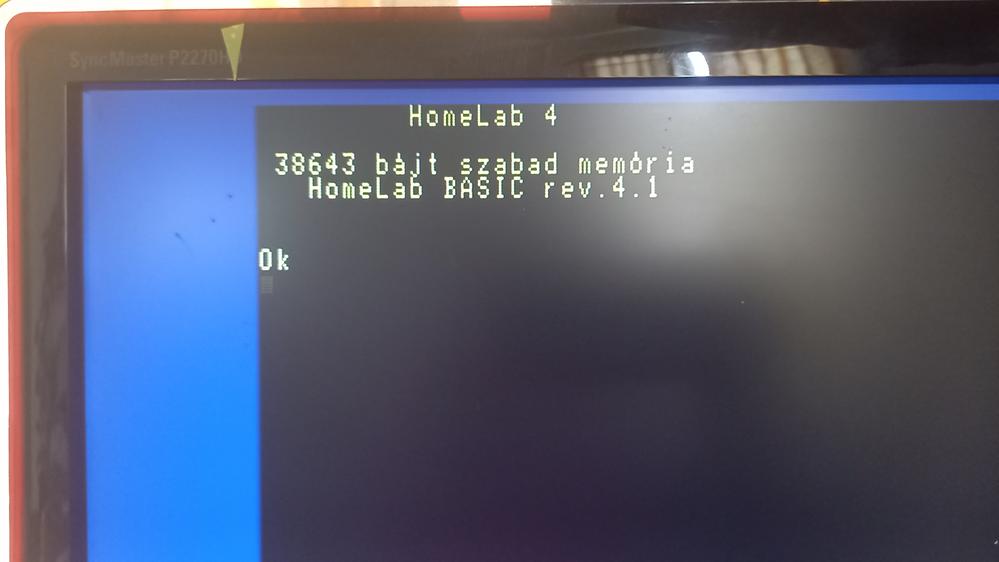
| Homelab 3/4 | hl3 |
| Homelab 2/Aircomp 16 | hl2 |
| Commodore VIC 20 | vic20 |
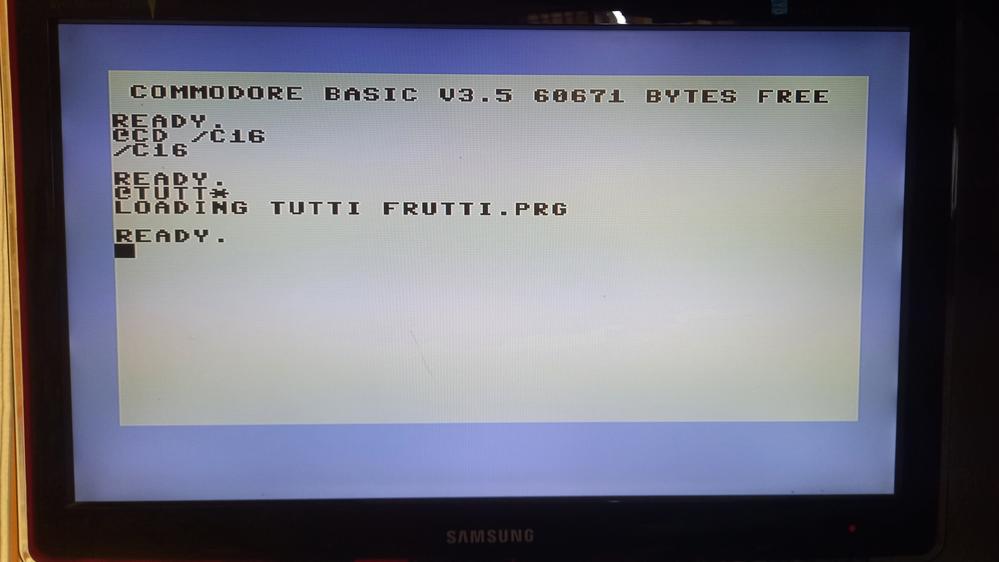
| Commodore 16/+4 | c16 |
| Commodore 64 | c64 |
| Nintendo Entertainment System | nes |
Also in the gwc2a directory is the cores.txt file, which is a simple structured text file for the menu core, from where the menu reads out the list of available systems and their brief descriptions. The menu can be navigated with the cursor keys, the selected core starts when ENTER is pressed. Each core takes a few seconds to load and start, during core load there is no video output. It is also possible to switch the active core itself in a textual manner, see the gwc command below.
For all the cores, the following keys are common:
- F9 – RESET of the given core
- F10 – file browser menu, currently only supported by ZX48/128 and NES cores
- F11 – reload current core (reconfigure FPGA)
- F12 – return to menu (load menu core)
TVC
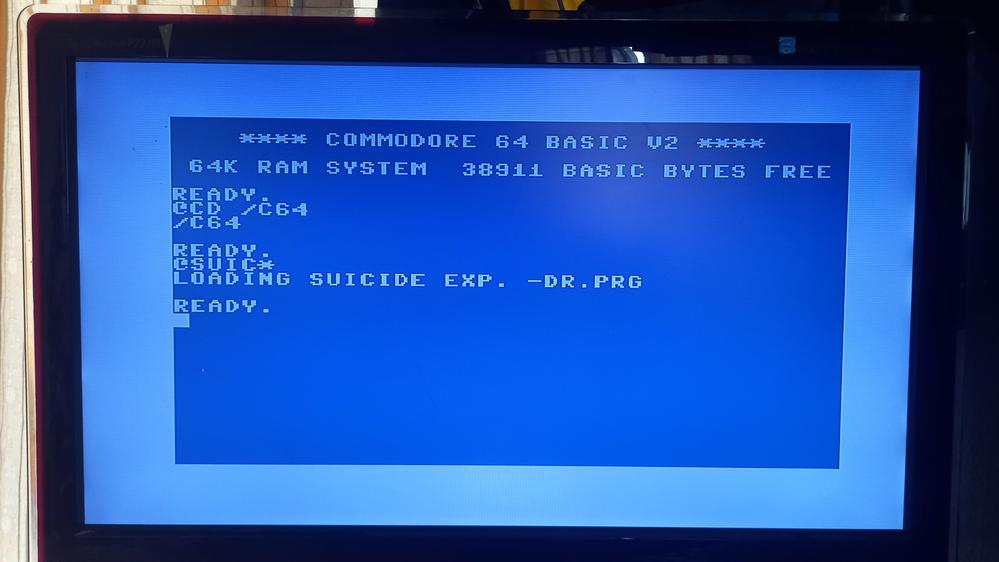
DOS commands must be given with the * character after the LOAD command, e.g.:
LOAD ”*DIR”
LOAD ”*CD /FOLDER”
LOAD ”*VOL”
LOAD ”*MOUNT”
LOAD ”*INF”
The closing quotation mark can be omitted. When loading normal .CAS files, the extension is not required, but can be specified.
LOAD”CROSSFIR” and LOAD”CROSSFIR.CAS load the specified file in the same way.
Switch to another kernel: LOAD”*gwc kernel name
Ex: LOAD”*gwc c64
HL2
DOS commands are available through LOAD. If the specified word cannot be interpreted as a DOS command, it will try to find it as an HTP file and load it.
LOAD ”DIR”
LOAD ”CD /FOLDER”
LOAD ”KIKDU”
The closing quotation mark can be omitted. When loading .HTP files, the extension is not required, but can be specified.
Switch to another core: LOAD”GWC core
HL3
DOS commands are available via LOAD. If the given word cannot be interpreted as a DOS command, it will try to find it as an HTP file and load it. The closing quotation mark is NOT required, and should not be specified!
LOAD ”DIR
LOAD ”CD /FOLDER
LOAD ”TIE
In cases where the HTP file is not loaded into the basic area, but somewhere else, the machine prints the starting address, which can be given to the CALL instruction, e.g.:
LOAD ”TIE
CALL $5000
Switch to another core: LOAD”GWC core
PRIMO
DOS commands must be given with the CMD basic instruction, the opening and closing quotation marks are also mandatory!
CMD ”DIR”
CMD ”CD /FOLDER”
CMD ”VOL”
CMD ”MOUNT”
CMD ”INF”
The LOAD command can be used to load programs, but before loading, the appropriate PTP file must be specified with the TAPE command.
CMD ”TAPE /PRIMO/SOMETHING.PTP”
LOAD
Switch to another kernel: CMD”GWC kernel”
HT1080Z
DOS commands must be specified with the CMD basic command, the closing quotation mark can be omitted.
CMD ”DIR
CMD ”CD /FOLDER
CMD ”VOL
The LOAD command can be used to load programs.
LOAD ”GALAXY
Switch to another core: CMD”GWC core”
ZX Spectrum 48
DOS commands must be given with the CMD basic command, without quotes. The CMD command replaced COPY on the keyboard (letter Z according to the English layout, Y on Hungarian keyboards)
CMD DIR
CMD CD /FOLDER
CMD VOL
Loading .SNA and .Z80 snapshot files is supported. Loading is done as follows:
CMD sna jetpac.snaThe extension can be omitted, the system first searches for .SNA and then .Z80 files, and if it finds one, it loads. The system does not load .Z80 files made for the Spectrum-128, and shows them as incorrect.
Switch to another core: CMD gwc core
ZX Spectrum 128
The ZX Spectrum 128 ROM does not support direct DOS commands yet, so games can be loaded here using .TAP (ZX Tape) files and the LOADER. By pressing F10 , the appropriate tape file with the .TAP extension can be selected with the pop-up on-screen browser. After that, the 128 Tape Loader must be pressed in the original Spectrum menu, so the system loads from the attached tape file.
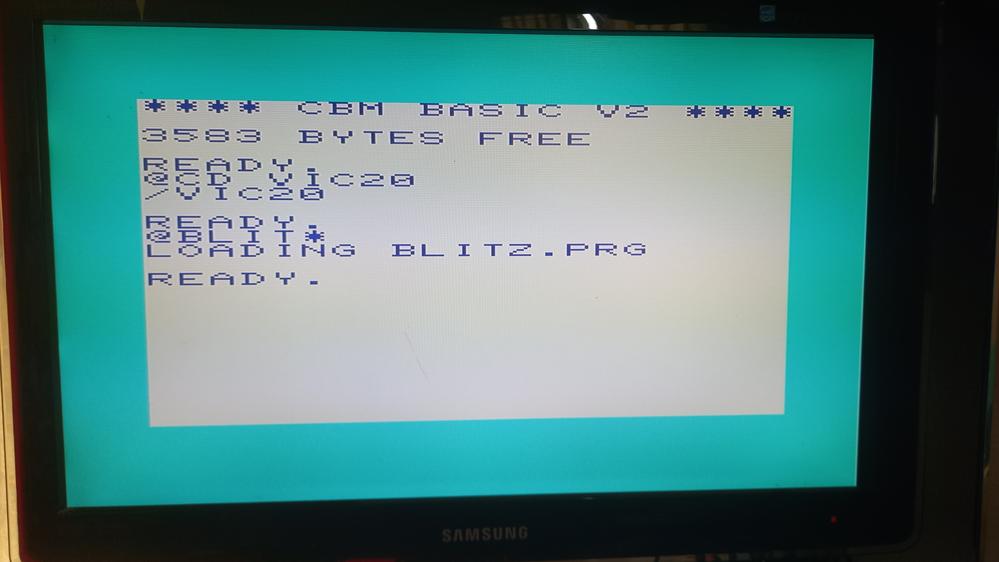
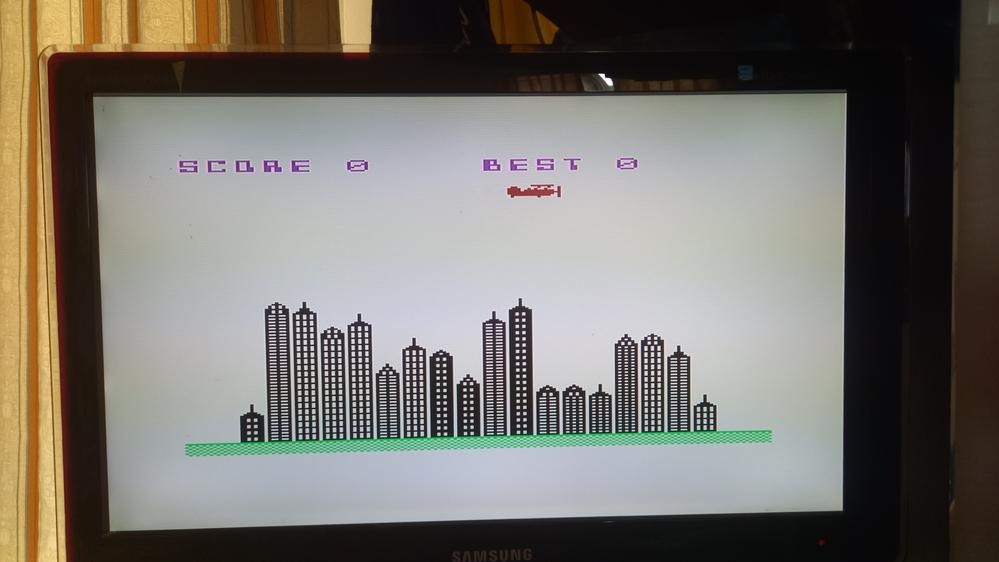
Commodore machines – VIC20, C16, C64
DOS commands must begin with the @ prefix character.
@DIR
@CD /FOLDER
@VOL
If the @ character is followed by a non-DOS command, the system will try to find the file with the given name and load it. Here, the * character can also be used to search for a text match.
@GHOST*It loads the first file that starts with the word GHOST (e.g. GHOSTBUSTERS.PRG)
Commodore machines currently do not have 1541 emulation, so only games that do not want to use the disk unit can be used.
In the case of the C16/Plus4, the latest multi-part games released for the C16STM card are supported, they will work in reload mode.
All models drive the RGB and analog audio output, these cores can also be used on a CRT monitor or a TV with a Scart input.
NES
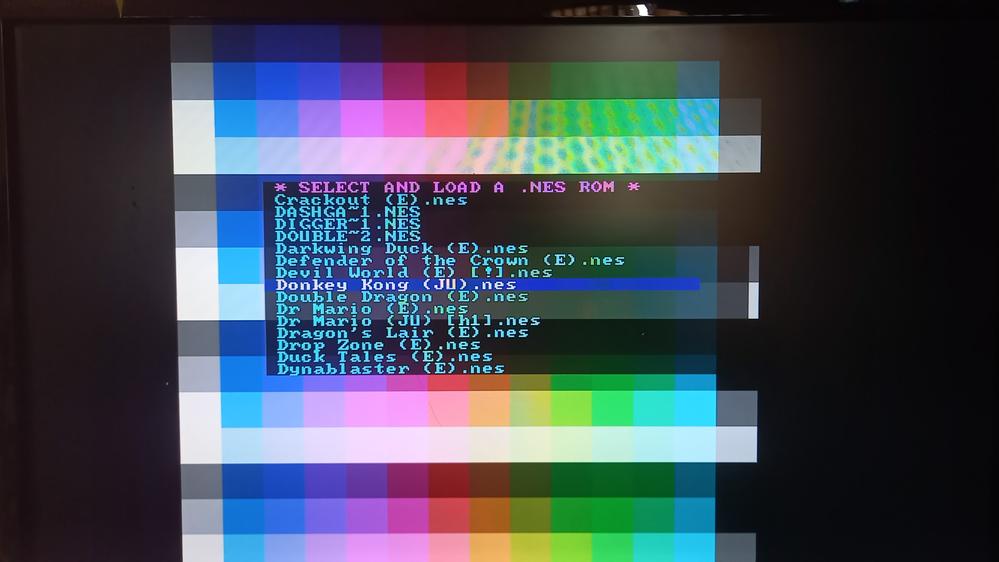
NES games must be loaded by pressing F10 . In this case, the on-screen browser will appear, the appropriate .nes file must be selected and loaded with ENTER. (Unfortunately, not all .nes games are guaranteed to play flawlessly, and games from various NES and clone systems may run incorrectly or not at all.)
The C64 joy ports emulate the four directions and the “A” button on the NES. Since the NES controller has more buttons than that, it is sometimes better to control NES games with a keyboard if the game does not use only these buttons. Of course, all buttons on the NES controller can be used as intended (4 directions, A, B, SELECT and START).
The NES core can also be controlled with the PC keyboard as follows:
| NES function | 1-es controller | 2-es controller |
| directions | Cursor keys | W-A-S-D |
| Start | Enter | 1 |
| Select | Space | 2 |
| A | Ctrl | Right-Shift |
| B | All | TAB |
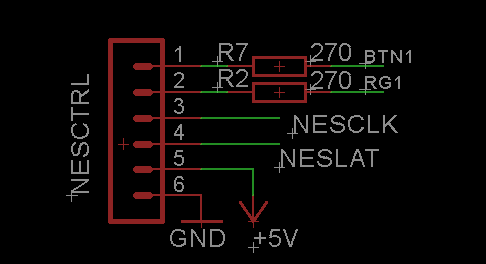
Connecting NES controllers
|
The TMC-20 card allows you to connect two NES compatible controllers via the NESCTRL 6-pin port. The pin connections are shown in the attached diagram. NES controllers can have multiple connections, which should be identified based on sources found on the Internet. [ NES Controller Pinout #1 | NES Controller Pinout #2 ] Typical connections for DB9 (yellow cartridge) clones, for one controller: Pin DB9 male 1 - 2 DAT 3 - 4 CLK 4 - 3 LAT 5 - 6 +5V 6 - 8 GND |
Attention! The previous V1 version of the card does not yet have a NES controller port, so this method obviously cannot be used on it. Only a few V1 cards were made. NES controller support must be enabled in the gwc2a/cores.txt file by inserting the following lines:
[config]
version=2
[end]
If you have a V1 card, be sure to enter version=1 here , otherwise one leg of the PICO board may be electronically damaged!
PICO Firmware upgrade
|
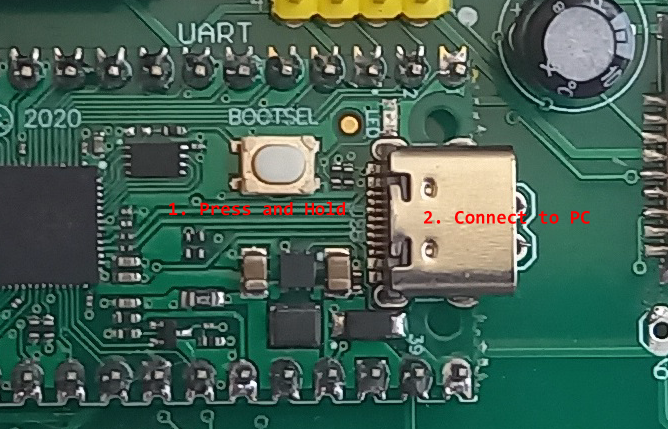
To upgrade the RP2040 PICO board firmware, you need a PC and a USB-C cable. (The latest firmware can be found in the downloads). The upgrade process:
|
MENU core upgrade
The menu core is located in the external flash chip of the FPGA board, and is upgraded via the built-in monitor program.
- copy the menucore.bin file to the root of the SD card (which you can find among the downloads)
- While the menu is running, press Ctrl+P . The TMS System monitor will then appear, with a cursor at the top of the screen
- Type: fread [ENTER]
- If the hexadecimal list that comes out contains only ff, then your card contains the older menucore. Then exit the monitor with exit and start a kernel of your choice. If it has started, press Ctrl+F12 . This should load the new menu, and when you return to the monitor (Ctrl+P), the fread command will no longer read only ff, but also other values
- issue the following command: fwrite 0 menucore.bin - the flash upgrade will begin, it will take a few seconds
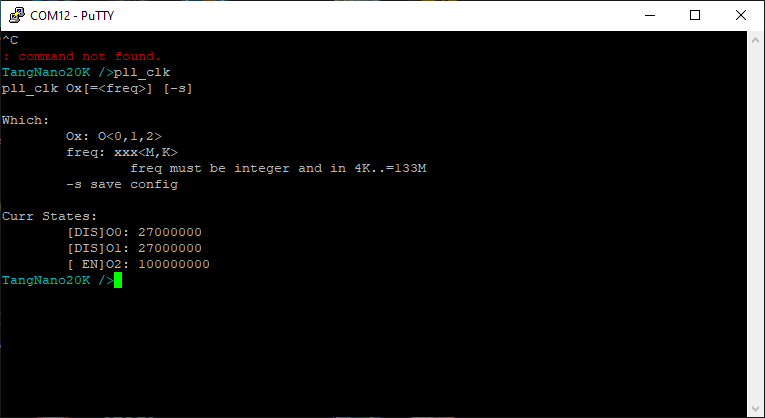
Clock Source Configuration
This configuration is needed if a core requires multiple clocks. The latest ZX48 core does this. You will need a terminal emulator program, I use PUTTY .
- Unplug all connectors.
- Connect the board with the USB-C cable to the connector on the FPGA board (above the TMC-20 label)
- Open your device manager and look for the new COM port - Ports (COM and LPT)
- Configure the terminal emulator: 115200 8 N 1
- Press Ctrl+C then Ctrl-X until the prompt appears: TangNano20K />
- Issue the following command: pll_clk O2=100M -s
- Reissue as a check: pll_clk
- If O2 is in EN state and shows 100000000, then it is OK
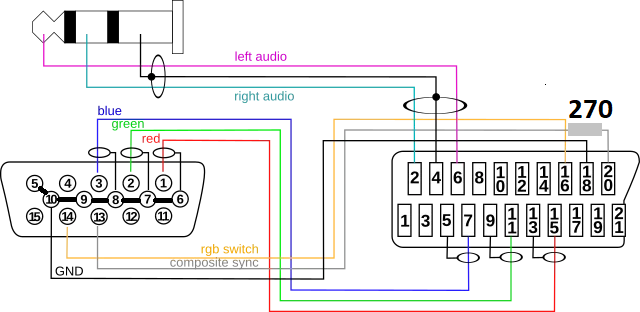
SCART/RGB output
In addition to the DVI/HDMI video output, the cores also provide an RGB+sync signal. This can be used on analog PAL compatible RGB monitors or Televisions that have a Euro-Scart RGB input. The following connection can be used for the scart input:
Downloads
- gwc2a.zip - contents of the gwc2a directory, with the latest kernels
- menucore.bin - menucore core, 2024.06.22
- tn_ctrl_02.uf2 - PICO 2040 firmware 2024.08.19
- Schematics - V2 board schematics
- tn_ctrl_02.uf2 - PICO 2040 firmware 2024.09.28. * , joy emulation implemented
1. Press PrtSc/SysRq and Ctrl 2.
While holding down the above combination, press F1 to emulate the first port, F2 to emulate the second port, and F3 to turn off emulation. Reloading a core with F12 will always turn off emulation!
Errors, problems
As with all software and hardware, bugs can occur with the TMC-20. If you report them to me by email or Facebook, I will try to fix them and improve the cores.
● The reset is not perfect for all cores, so if the core does not start after the F9 reset, you can try to reload the core with F11. Unfortunately, this does not help in all cases, because the internal RAM retains its contents, and therefore it is possible that after loading the core the same state occurs as before.
● ZX Spectrum ram error. It very rarely happens that the Spectrum core starts with 16K RAM. This can be checked with the PRINT USR ”A” instruction, in the case of 48K it prints 65368, while in the case of 16K it prints 32600. This is solved by the F9 reset.
● In the case of TVC - also after reset - a black-border error may occur, if the frame remains black, but the blue login image appears, a new reset must be given (F9)
● In the case of C16 and C64, sometimes the HDMI image shifts, F11 or F12, reloading the core helps.
● Loading certain cores one after the other - due to the preserved content of the internal RAM - can result in an error. This is also the result of an imperfect reset (can occur with Homelab3).
● The controller RP-2040 firmware can also crash (it also runs software), since communication with the current core is done on a handshake basis. If this state occurs, the machine does not respond to pressing either F9 or F12, then a complete power off and restart is the solution.
Pictures
 |
 |
 |
 |
 |
 |
 |
 |
 |
 |
 |
 |
 |
 |
 |
